Do you want to streamline your customer service process, reduce support time, AND give an excellent customer experience? Then a knowledge base is your new best friend.
This guide covers what a knowledge base is, the benefits of creating one, how to gather the right information, tips on how to create a knowledge base, and how to manage your knowledge base.
A knowledge base is an educational resource center for companies. It usually stores educational content for set-up, troubleshooting, and technical support.
A knowledge base is an educational tool for businesses. it provides quick and accurate answers to user inquiries, while also helping to reduce costs and improve customer experience.
By having all the important information stored in one place, customers can find the exact answer they need. This reduces the reliance on the support team and solves their problems quickly.
This helps customers get their issues resolved faster, which leads to better customer satisfaction overall.
Usually, knowledge bases include:
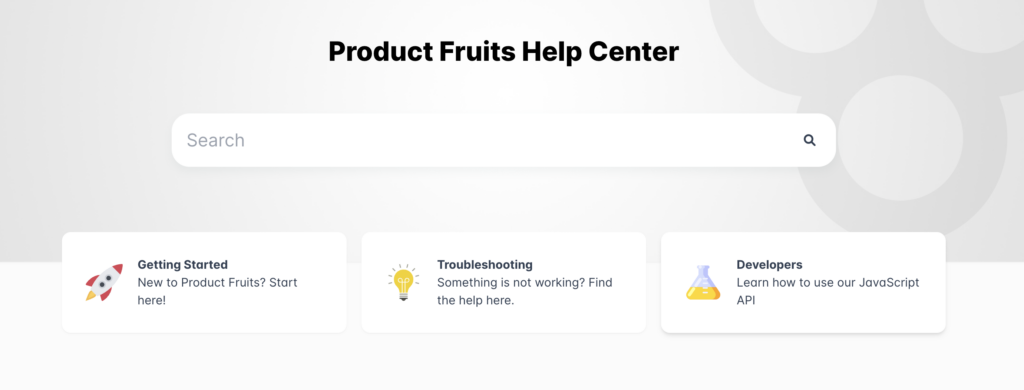
Here is an example of what the Product Fruits knowledge base looks like:

(Source: Product Fruits)
A Knowledge Base is a great tool to support users throughout the entire onboarding and feature adoption journey. In fact, over 89% of users agree they’d spend more money if they could use self-serve tools to find their own answers.
For both the user and the company, the knowledge base can save time and improve the user experience.
For your team, a knowledge base can:
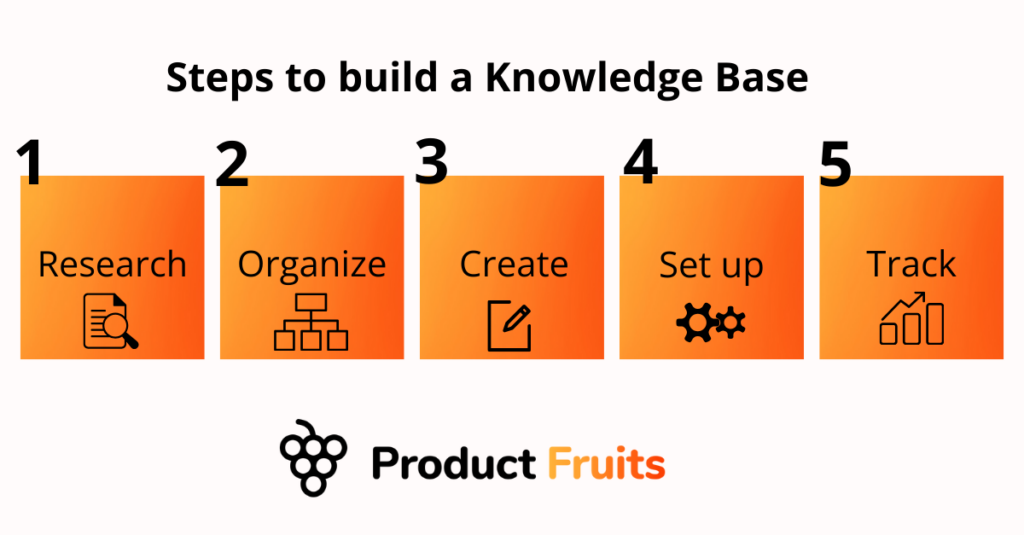
A knowledge base requires clear and organized information. The following steps will help you create a successful help center for your team and clients.

The first step is to compile all the information that needs to be included in the knowledge base.
By starting the process off with research, you’ll be able to comprehensively cover all the common queries and struggles users may face.
Here are some helpful ways to gather topics for the knowledge base:
A thorough knowledge of the topics that need to be covered will help you determine the ideal experts for content production.
For example, will developers need to allocate time to content? Will the sales team need to share past demos? Does the support team need to help create resources? Understanding the content needed will help you communicate and bring in the necessary stakeholders.
Once you have all the content topics gathered, it’s time to organize them into categories.
The goal is to structure data into categories and subcategories to make it easier for the user to find information.
A good practice is to create a taxonomy of topics or categories for the content in your knowledge base. This allows you to tag information with relevant tags for users to easily navigate.
For example, here at Product Fruits, we divide our knowledge base into serval top-level categories:
That way, users can quickly identify their current needs. Then, each category is then further divided into closely tied topics.

Start by determining the purpose of the knowledge base and its primary users. By doing so, you can adapt the right tone and approach to content creation.
If we take the Product Fruits example above, notice how the content for “Getting started” is much more simple and straightforward, compared to the jargon and terminology used for “Developers”.
On one side, we’re creating content for product managers that build user onboarding flows. On the other side, content is created for developers who are familiar with software and coding terms.
Here are some helpful tips to make your content extra helpful:
Next, it’s time to choose the best place for your Knowledge Base to live.
A big part of your decision will come down to the privacy of information shared in the knowledge base. Some companies will choose to keep it open; others will choose to keep it gated.
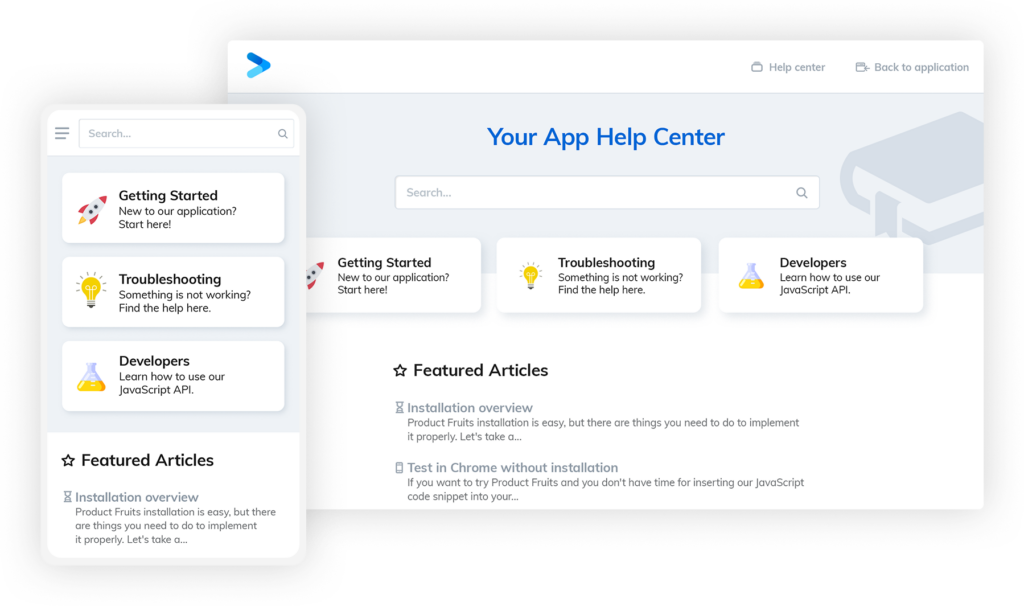
Product Fruits offers a knowledge base that is customizable, easy to edit, choose privacy settings, and interlinks with hints, tooltips, and life ring buttons.
That means your users are always a click away from a solution.

(Source: Product Fruits)
And, it’s easy to embed Product Fruits Knowledge base into your platform. With integrations and a no-code approach.
Once your knowledge base is equipped with all the information and resources, it’s time to track and analyze the results.
It’s good practice to keep track of data regarding usage and user feedback. This provides insights into new topics that can help meet customer needs.
And, if new features or interfaces are introduced, it’s important to update material accordingly. Doing so will help users navigate new functions without relying on the support team.
The easier your knowledge base is to navigate, the fewer queries your support team will receive.
Add media and visuals to your knowledge base articles. This will aid content to help users visually trace steps they need to take.
Examples of media usage can include using images, infographics, screenshots, videos, or diagrams to help explain complex ideas and concepts in an easier manner to customers.
This is especially helpful for troubleshooting. Consider including video tutorials, walkthroughs, and screenshots for users to visualize the troubleshooting process.
Here’s an example of how we include video tutorials in our knowledge base.

(Source: Product Fruits Knowledge base)
Regularly update content within the knowledge base, and remove any old or outdated content.
It’s good practice to continuously communicate content updates for new features or flows. That way, users know where to look for answers.
And, it guarantees that customers are accessing the most relevant and up-to-date information.
Make the knowledge base accessible at all times with a life ring button.
This helps to provide customers with a comprehensive experience, as they can access additional helpful information without having to navigate away from the page.
Lifering buttons are especially helpful when customers are in the middle of a task, as they can provide them with quick access to the resources they need to continue.
Here’s an example of how that lifering could look like in practice:

(Source: Product Fruits)
Make sure your content is on brand. Keep your knowledge base brand consistent using the same tone, colors, and approach.
Take a peak: 6 Experts reveal how to enhance brand strength during user onboarding
Additionally, use visuals such as logos and images to keep the content visually appealing and on brand. This can help to create a cohesive experience for customers and increase their satisfaction.
A fully optimized UX journey has all the tools at a user’s fingertips to delight their journey. By optimizing your self-service UX, you can create a more effective and enjoyable experience for your customers.
You need an onboarding tool that helps users quickly adopt new features.
Product Fruits serves as the tool to continuously optimize your user journey and increase conversion.
it’s a no-code tool that lives as a layer on top of your platform. You can quickly click and drag new features to your platform immediately.
Curious? Try it out for yourself with our 14-day free trial, no card (or coding) is required.